How to Maintain Your Bike Trainer
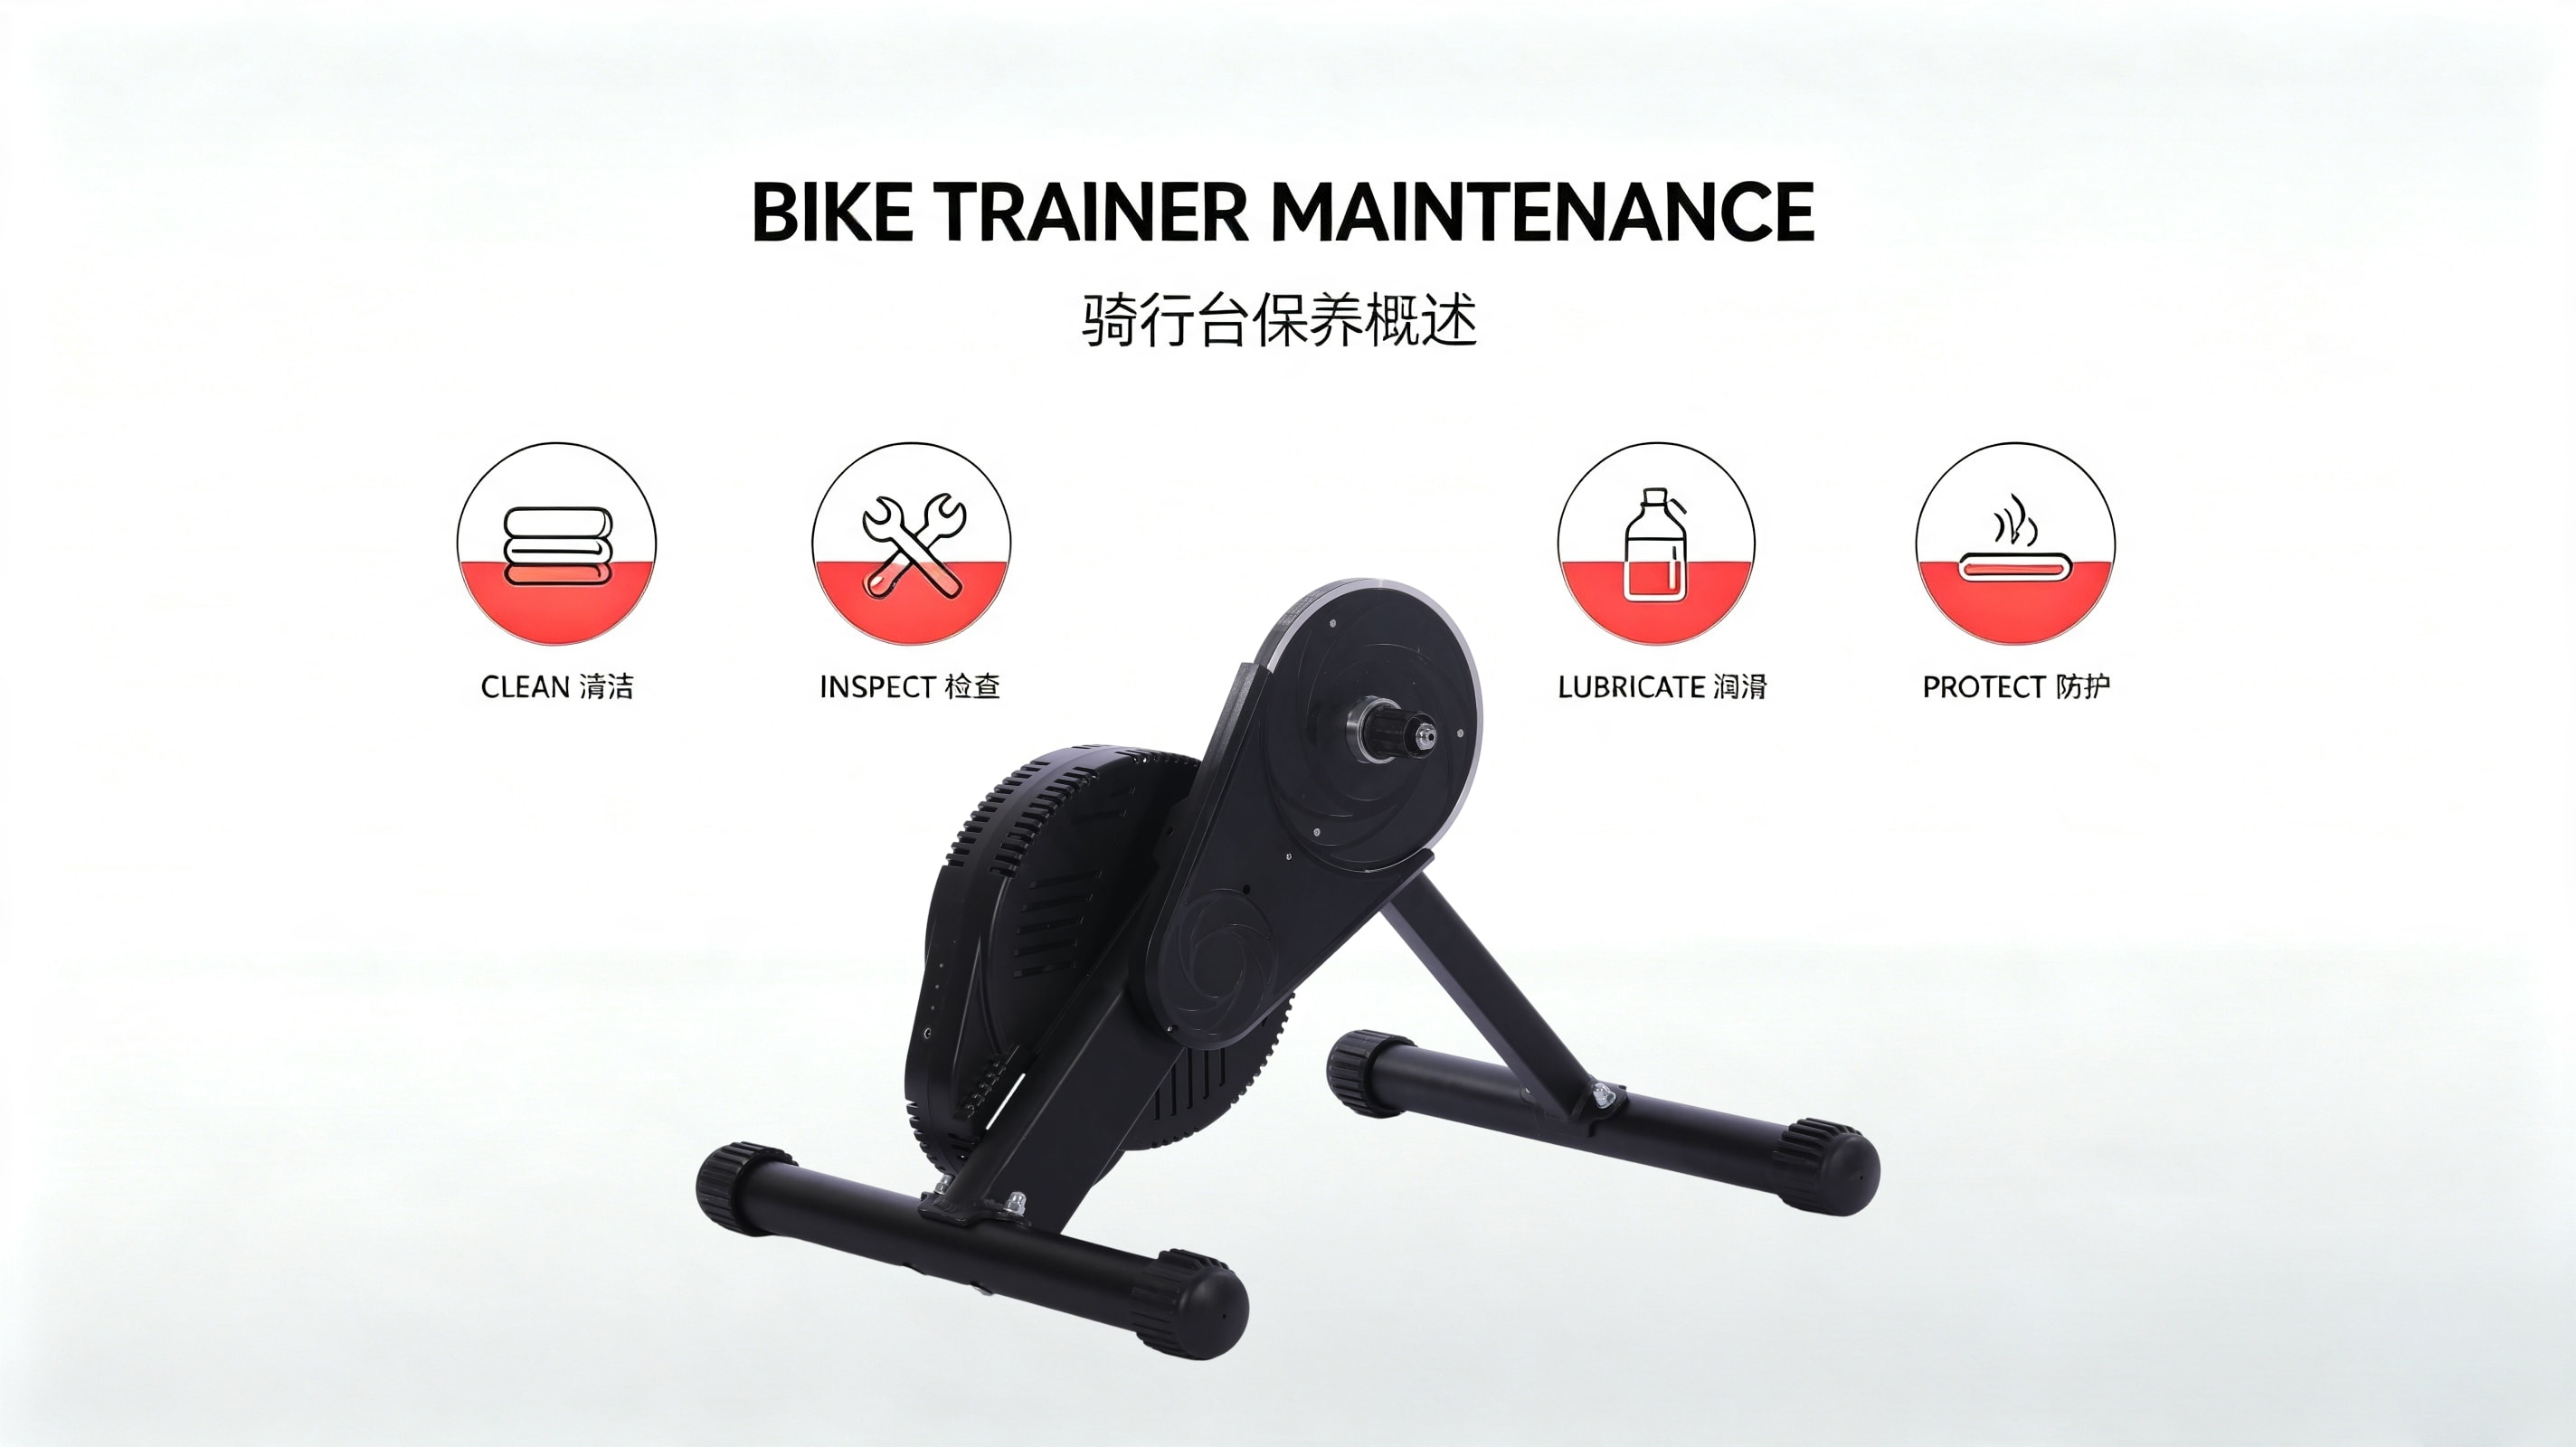
How to Maintain Your Bike Trainer: The Complete 2024 Guide
Your bike trainer is an investment in your fitness journey. With proper care, it can deliver years of reliable service. But neglect it, and you'll face performance issues, annoying noises, and premature breakdowns.
This guide covers everything you need to know to keep your trainer running like new — whether you own a wheel-on model or a direct-drive smart trainer.
Why Maintenance Matters
Indoor training is sweaty work. Unlike outdoor riding, sweat doesn't evaporate quickly indoors — it drips directly onto your trainer. Over time, this moisture can corrode metal components, damage electronics, and degrade rubber parts.
Combine that with dust, friction, and mechanical stress, and you have a recipe for equipment failure.
The good news? A 5–10 minute maintenance routine after each ride can prevent 90% of common issues.
Daily Maintenance: After Every Ride
1. Wipe Down Your Trainer
Sweat is the #1 enemy of bike trainers. Use a damp microfiber cloth to wipe the frame, resistance unit, and all exposed surfaces. Never use a soaking wet cloth — moisture getting into electronics can cause short circuits.
2. Clean Your Bike Too
Sweat that drips onto your bike frame can corrode bolts, cables, and paint. Give your bike a quick wipe-down after each session.
3. Dry the Area
If you use a sweat net or mat, hang them up to dry. A damp mat left on the floor can become a breeding ground for mold and mildew.
Weekly Maintenance: Every 5–7 Rides
1. Inspect for Wear and Tear
Check the following areas carefully:
| Component | What to Look For |
|---|---|
| Resistance unit | Unusual noise, inconsistent resistance, overheating |
| Frame connections | Loose bolts, cracks, or bending |
| Roller bearings | Grinding sounds, roughness when spinning |
| Mounting hardware | Stripped threads, rust, or looseness |
| Drive belt (if applicable) | Cracks, fraying, or excessive slack |
2. Clean the Resistance Unit Area
Dust and debris can accumulate around the resistance mechanism. Use a soft brush or compressed air to gently remove buildup. For direct-drive trainers, pay special attention to the flywheel area.
3. Check Calibration
Most smart trainers require periodic calibration (sometimes called "spin-down") to ensure accurate power readings. Check your trainer's app for calibration instructions — typically, it takes less than 2 minutes.
Monthly Maintenance: Deeper Care
1. Lubricate Moving Parts
Not all trainers need lubrication — check your user manual first. If recommended:
- Apply a small amount of appropriate lubricant to pivot points and bearings
- Wipe away any excess to prevent attracting dust
- Never over-lubricate — it can seep into electronics
Important: Different trainers use different lubricants. Wheel-on trainers may need the resistance roller cleaned with rubbing alcohol, while direct-drive units may use specific greases.
2. Check All Bolts and Fasteners
Use a torque wrench to ensure all bolts are tightened to the manufacturer's specifications. Loose bolts can cause vibrations, noise, and even structural failure during high-intensity sprints.
3. Clean the Floor Mat
Your training mat absorbs sweat and dirt. Wash it according to manufacturer instructions — most can be rinsed with water and mild soap, then air-dried.
Seasonal Maintenance: Every 3–6 Months
1. Deep Clean the Entire Unit
Disconnect the trainer from power (if smart) and perform a thorough cleaning. Use a soft brush to reach tight spots and compressed air for internal components.
2. Inspect the Drive Belt or Chain
If your trainer uses a belt-driven resistance unit, inspect the belt for wear. For wheel-on trainers, check the resistance roller for flat spots or glazing.
3. Update Firmware
For smart trainers, check the manufacturer's app for firmware updates. These can improve performance, fix bugs, and ensure compatibility with training apps like Zwift and TrainerRoad.
4. Test Accuracy
Perform a full calibration test. If your trainer uses an FTP test feature, running one can help verify that resistance and power data remain accurate.
Proper Storage: When Not in Use
✅ Do:
- Store in a dry, temperature-controlled room (ideally 15–25°C / 59–77°F)
- Cover with a breathable dust cover (not plastic, which traps moisture)
- Keep away from direct sunlight — UV rays can degrade rubber and plastic parts
❌ Don't:
- Store in a garage, basement, or shed with fluctuating temperatures and high humidity
- Leave the trainer mounted with the bike for extended periods without using it
- Stack heavy items on top of the trainer
Quick Maintenance Checklist
📅 After each ride — Wipe down trainer and bike
📅 Weekly — Inspect for wear, clean resistance area, check calibration
📅 Monthly — Lubricate (if applicable), check bolts, clean mat
📅 Every 3–6 months — Deep clean, inspect belt/chain, update firmware, test accuracy
Common Problems & Quick Fixes
| Problem | Likely Cause | Quick Fix |
|---|---|---|
| Squeaking noise | Lack of lubrication or loose bolts | Apply lubricant; tighten bolts |
| Inconsistent resistance | Dirty resistance unit or calibration loss | Clean unit; recalibrate |
| No power reading | Loose connection or dead battery | Check cables; replace battery |
| Vibration | Loose frame bolts or uneven floor | Tighten bolts; use a mat |
| Bluetooth dropout | Interference or firmware issue | Move devices closer; update firmware |
Final Thoughts
Your bike trainer is more than just equipment — it's the foundation of your indoor training consistency. A few minutes of care after each ride can save you hundreds of dollars in repairs and replacements.
Remember: Prevention is always cheaper than cure.
Maintain your trainer. Train smarter. Ride stronger.
👇 Ready to upgrade your indoor setup?
🚴 Check Our Best-Selling Home TrainersExpert picks · Quiet & smart · Free shipping
Last updated: